DIY Budget SSD
In today’s digital age, data storage is crucial, whether you’re a professional handling large files or a casual user looking to boost your device’s performance. One cost-effective way to upgrade your storage is by creating your own DIY budget SSD. Hopefully I will be able to guide you through the process of transforming an old hard drive or purchasing a low-cost SSD and pairing it with an enclosure to build your own budget-friendly SSD. If not, then I can share my experiences making a budget SSD and using it frequently for 2+ months.
Materials
An SSD: You can opt for a low-cost SSD with the storage capacity that suits your needs. This could be an SATA SSD or a faster NVMe SSD, depending on your budget.
SSD Enclosure: You’ll need an enclosure that matches the type of SSD you’ve chosen (SATA or NVMe). This enclosure will house the SSD and connect it to your computer via USB.
Options
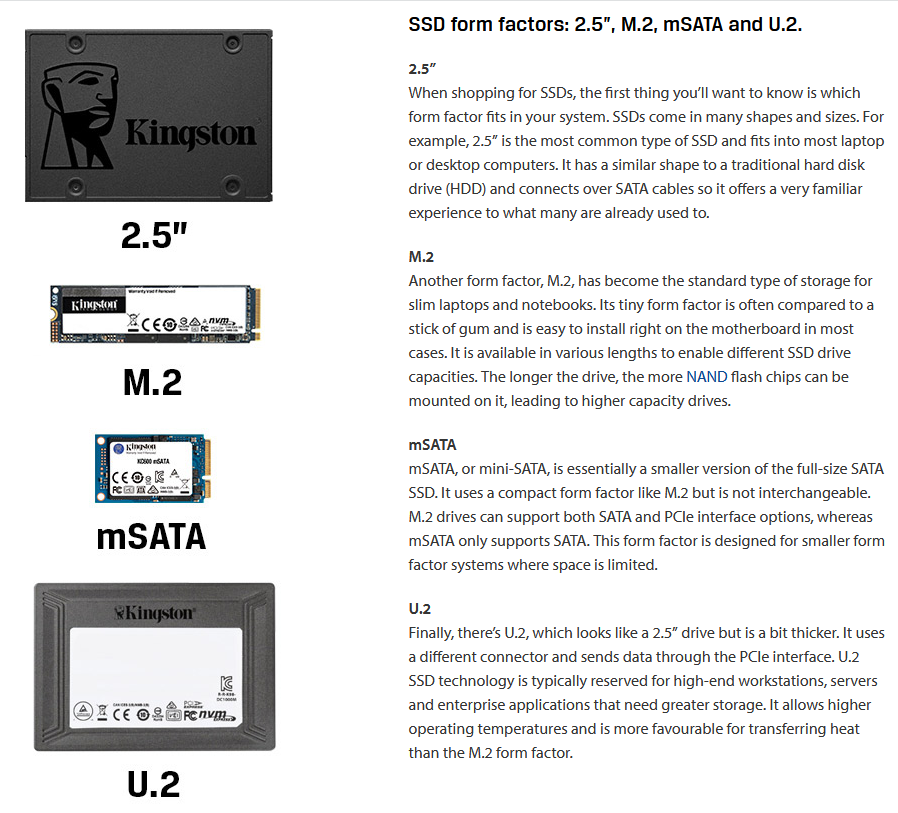
There are loads of options for both enclosures and SSDs, so making the right decision really comes down to your own personal needs. For me personally, I’m just a university student with limited requirements so I picked up whatever was cheap at my local Umart. If you are a photographer, video editor or generally have lots of large files, you will most definitely want a high speed SSD and enclosure that can handle those speeds (USB-C, better chip, etc). Here’s a really helpful table from Kingston to help you out.

 SSD Info Table by Kingston Technology
My DIY SSD
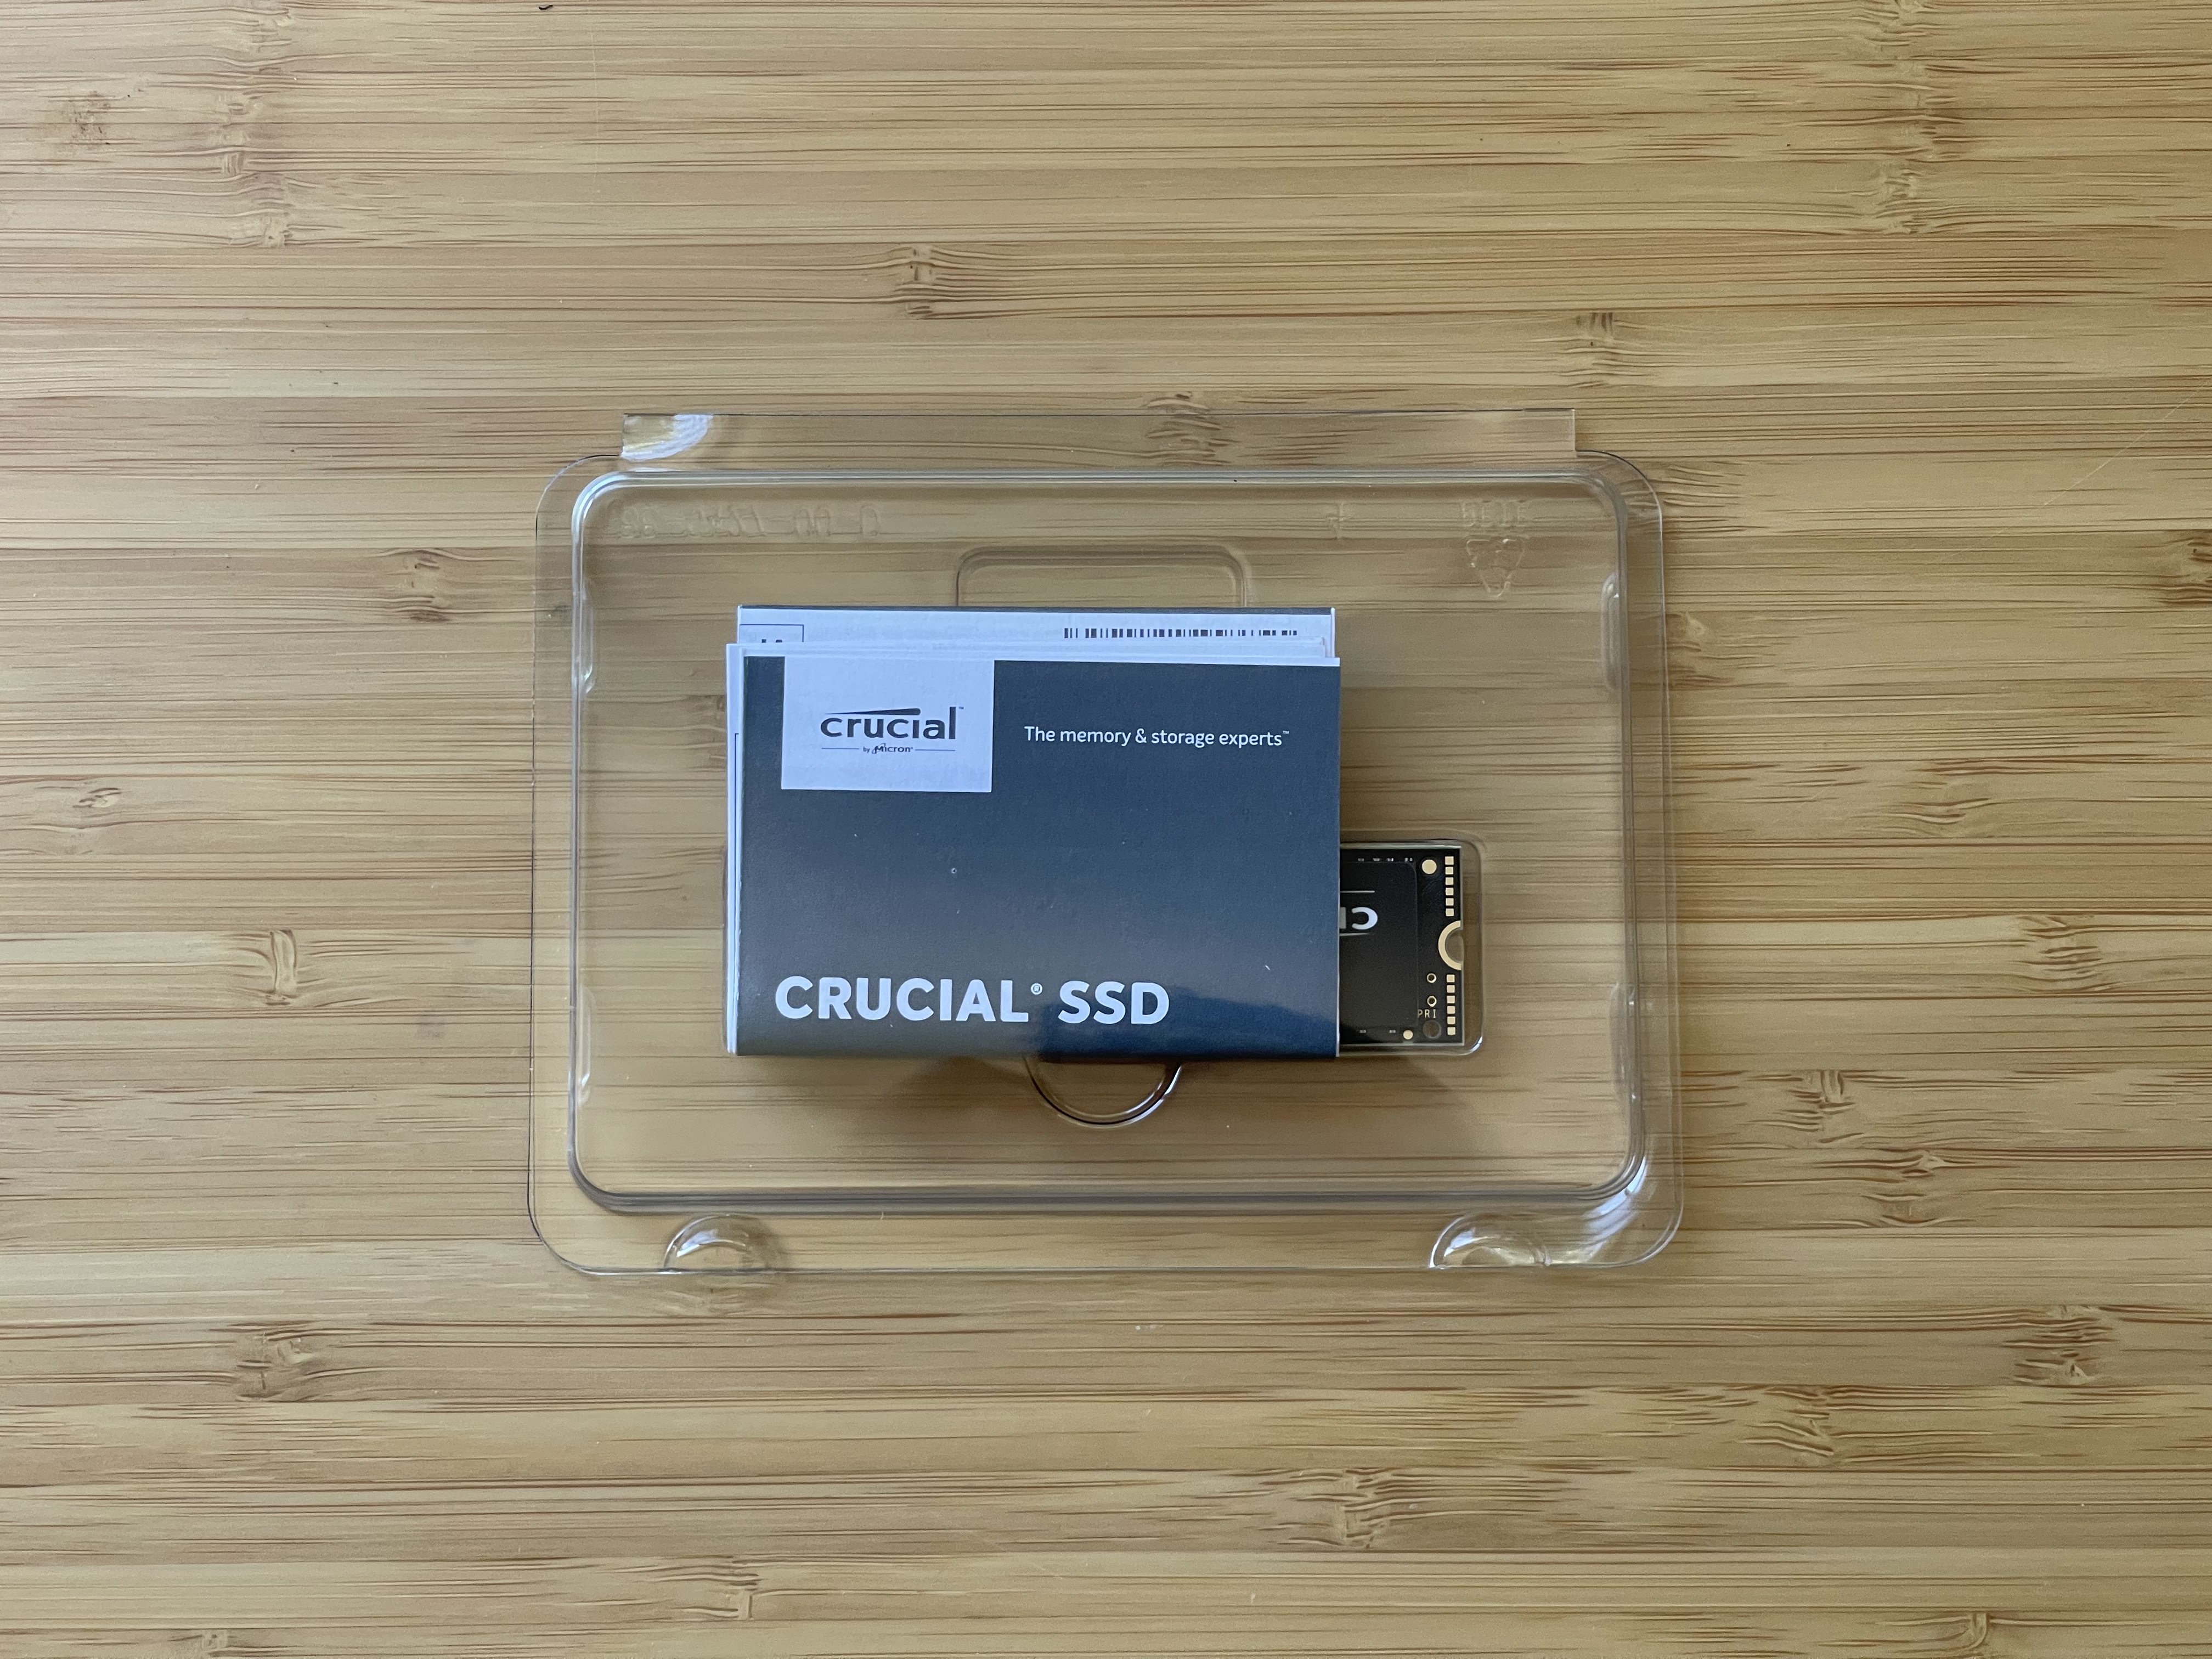
So for the SSD, I picked a Crucial P3 1TB PCIe NVMe M.2 SSD for AUD$65.00 from Umart. For the enclosure, I purchased an ORICO M.2 NVMe SSD Enclosure (M2PV) for AUD$24.00 from Amazon. Although these are not the most cost effective or performance orientated options, they were relatively cheap and convenient. Further, the total cost was much cheaper than buying one from JB Hi-Fi, Officeworks or the other tech stores.
DIY Price vs. Premade Price
The variance in price increases signficantly when the storage size increases. Keep this in mind before making the investment in a DIY SSD as you could grab a premade, higher build quality or aesthetic SSD at storage sizes like 512GB or 1TB.
Box Admiration
Here are some of the pictures I took while building mine, it is super straight forward. Obviously, unboxing anything is always the best part of the experience. Check these out:
Quick Guide
Open the SSD enclosure and insert the SSD into the slot carefully.

 Step 2
Apply thermal pad onto the SSD (side where chip is facing).

 Step 3
To Conclude
This has been a fun little day project that took me about a couple minutes excluding waiting on Umart and Amazon. I would definitely recommend this if you have a spare $100 and are bored, or you’re looking for a budget solution for physical data storage. If you have any questions, feel free to shoot me a message or leave a comment! Thanks for reading. 👋


